-
Hover the mouse over the Enhanced Locate and click the small edit icon

The configuration window for this widget opens.
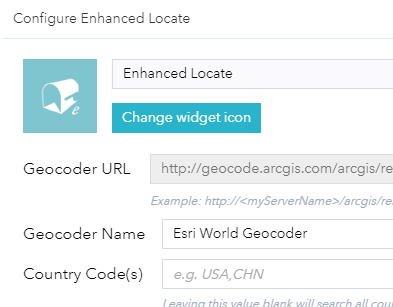
- Optionally, click change widget icon if you want to replace the default icon for this widget.
A file explorer window opens allowing you to browse to a local image file to use as the widget icon.
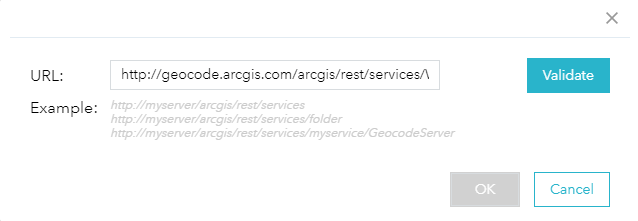
- The widget comes configured to use the esri world locator. Optionally you can click Set next to the Geocoder URL and specify your own Geocode service url.

The new locator dialog opens. Now enter the URL of the service and click Validate.
- Optonally you can click Add map coordinate unit and the add new map coordinate unit dialog will open.
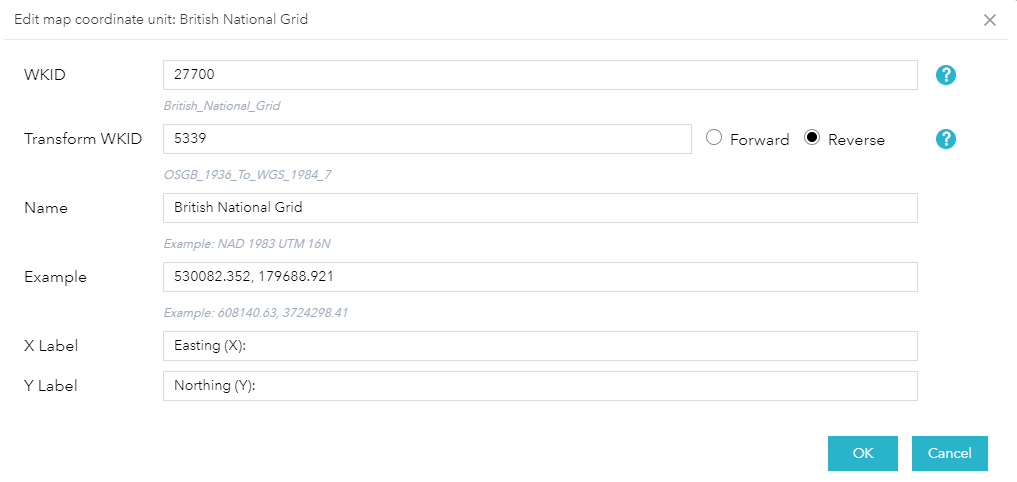
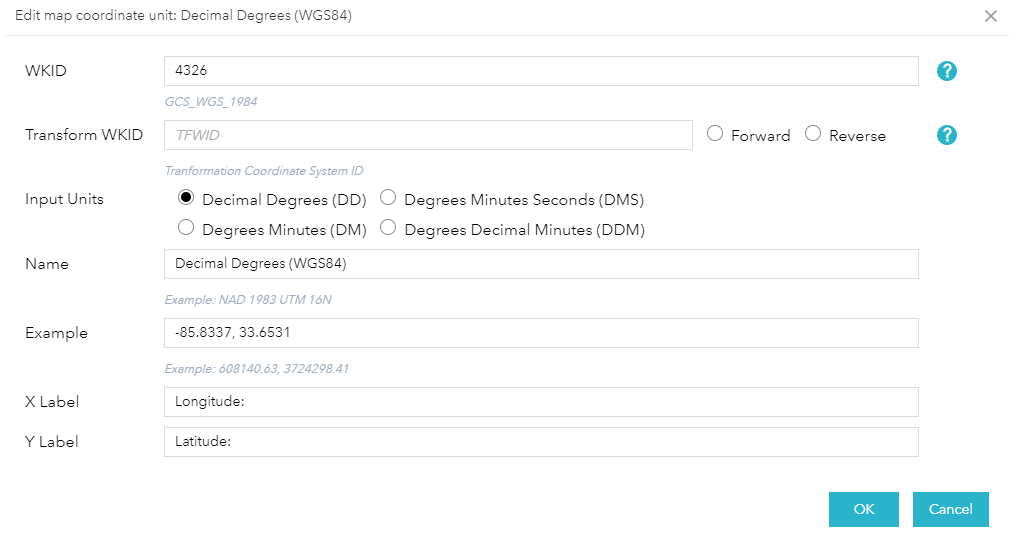
If you enter 4326 for the WKID then some additional options will appear in the dialog.
These additional controls allow you to specify if the lat lon WGS 84 coordinates will be entered as Degrees Minutes Seconds (DMS), Decimal Degrees (DD), Degrees Minutes (DM), or Degrees Decimal Minutes (DDM).
- Optionally edit units in the map coordinate units table by using the contols at the end of each row.

- Set the Info Window Auto Close (seconds) to a number of seconds you want the info window to remain open after you have moved focus from the result or the info window.
- Set the Initial View to one of the three options in the drop down.
This will set which tab will be selected and has focus when the widget opens.

- Optionally, define the Default Zoom Scale.
The Default Zoom Scale is used when zooming to locate results that are point geometry.
- Optionally, check the Force Scale.
The Force Scale is used to specify if only the map will be zoomed back out to the default zoom scale if the map is already zoomed beyond that scale.
- Optionally, specify the WKID for coordinates displayed in popup.
The WKID for coordinates displayed in popup is used to specify the coordinate text that is added to the popup for address inspection and locate address. This allows you to specify that you want theis coordinate text to be in a WKID different from the maps WKID.
- Optionally, check the Keep address inspector tool active after each address inspection.
The Keep address inspector tool active after each address inspection option specifies that when an address inspection is completed that the drawing tool will remain active and will not be automatically disabled. This feature allows you to continue to inspect addresses on the map without having to re-select each time.
- Optionally, check the Enable geocoder limit to map extent by default check box if you want to appear in the widgets UI checked by default.
- Optionally, check the Enable Mouse Over Graphic Info Windows and Enable Mouse Over Result Info Windows check boxes.
Enable Mouse Over Graphic Info Windows will allow the maps info window to appear when you hover the mouse over the result graphic in the map.
Enable Mouse Over Result Info Windows will display the maps info window when you hover the mouse over the locate result in the widgets results UI. - Optionally, click the
Edit default symbols.
The default symbology dialog opens, allowing you to choose the images for the locate type result symbols.
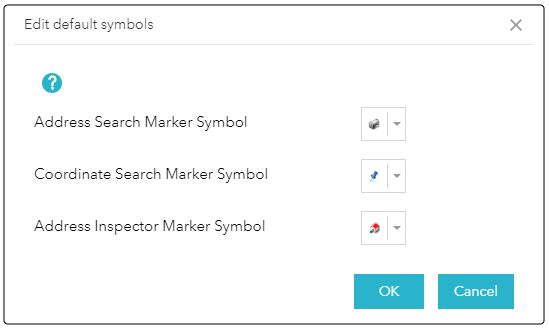
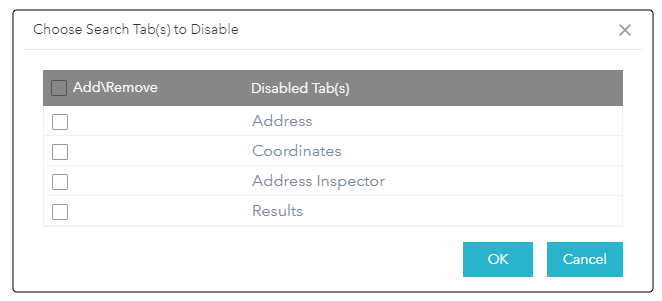
- Optionally, click the Edit Disabled Tab(s).
The disable tab(s) dialog opens, allowing you to choose the tabs that will be disabled in the widgets UI.
Using the Enhanced Locate
Clicking the Enhanced Locate in your application displays the widget. Depending on the Initial View choice that was made during configuration the configured tab will be selected.
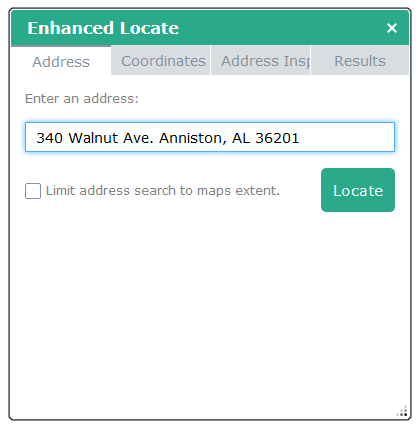
- • To use the address lookup, just enter and address.
- • If you configured Enable geocoder limit to map extent by default then the maps extent will be used to limit the locate results.
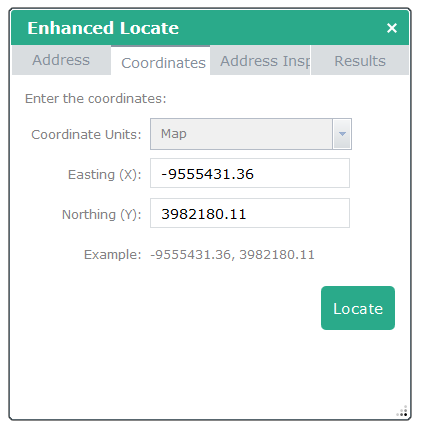
- • Using the Coordinates tab is as simple as choosing a Coordinate Unit entering the Easting (X) and the Northing (Y).
- • You can also simply click on the Example text and have it automatically populate the Easting (X) and the Northing (Y).
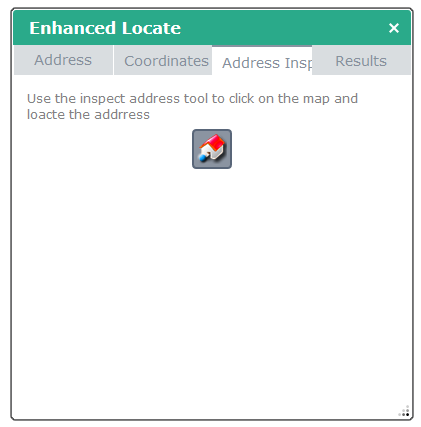
- • Using the Address Inspector tab is as simple as clicking on the Inspect Address by point button to toggle the tool. Then just click on the map to inspect the address at the location on the map that you clicked.
- • If you choose Keep address inspector tool active after each address inspection then the tool will remain active and to can continue to click on the map to inspect addresses untill you toggle the Inspect Address by point button or you switch to a tab other than the results tab.
Address
|
Coordinates
|
Address Inspector
|
Results
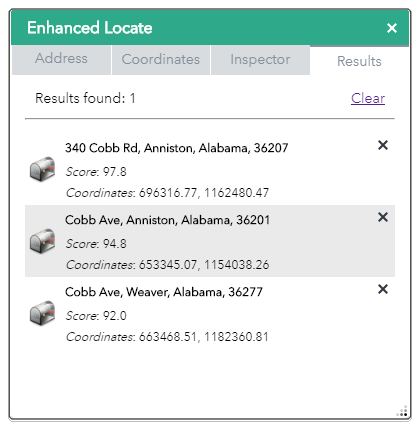
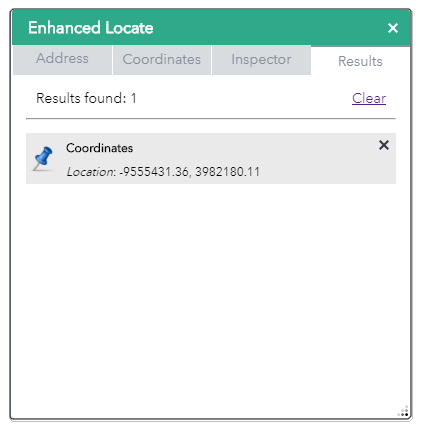
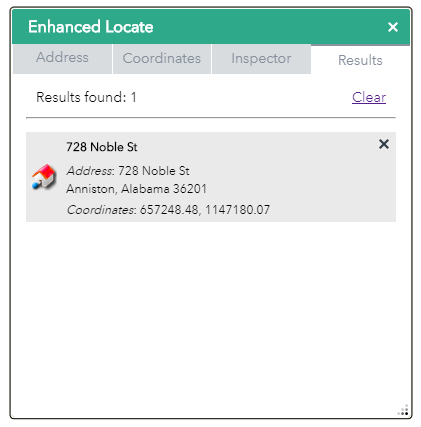
The Results view lists all the located features and thier attributes (dependant on the locate type).
- • Each result will have a remove button to allow you to remove un wanted results from the result list.
- • If it was an address search then the address and the score of the match are presented.
- • If it was a coordinate locate then the locate coordinates are presented.
- • If it was a address inspection then the address and the locate coordinates are presented.
- • You can click on any of the individual results in the list to zoom to that results location.
- • If you selected Enable Mouse Over Result Info Windows then when mousing over the result will cause the maps info window to display.
- • The Clear link will remove all the returned results from the map and the widget.
|
|
|